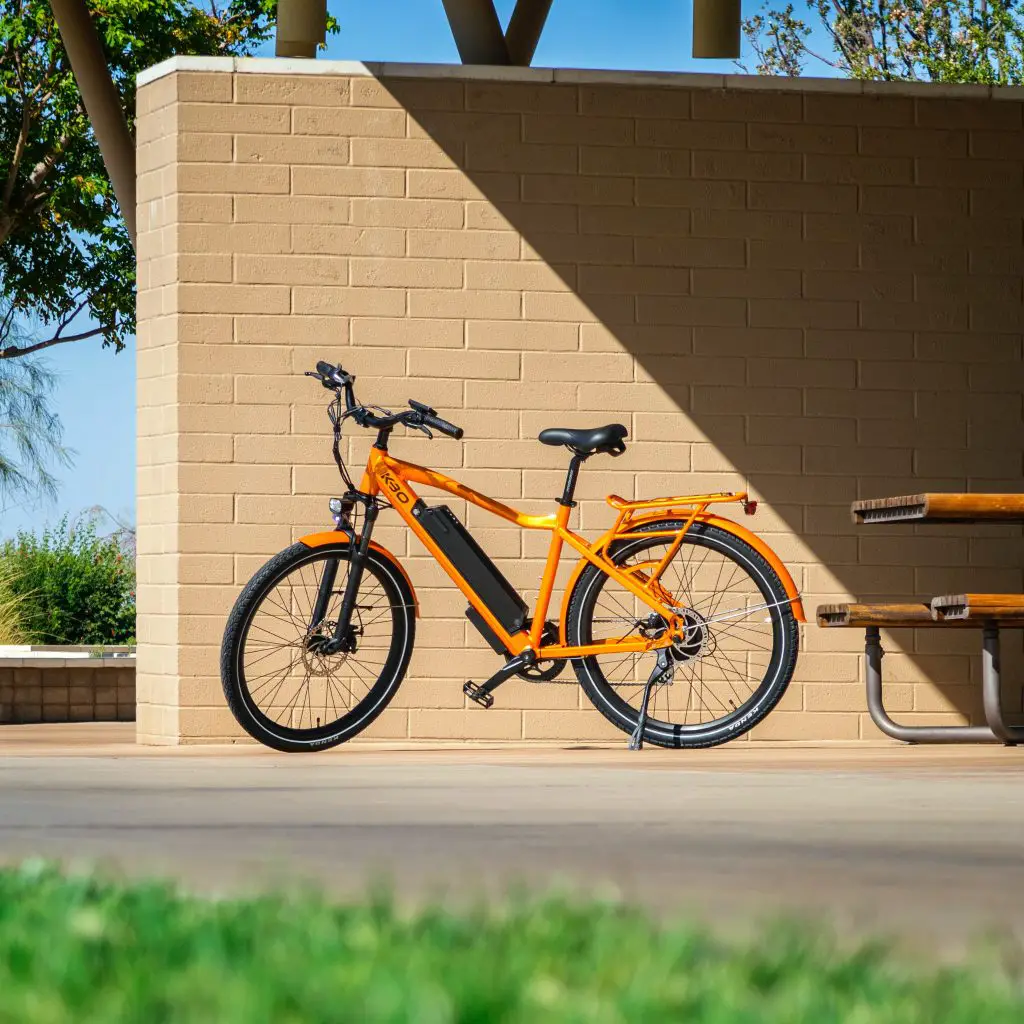
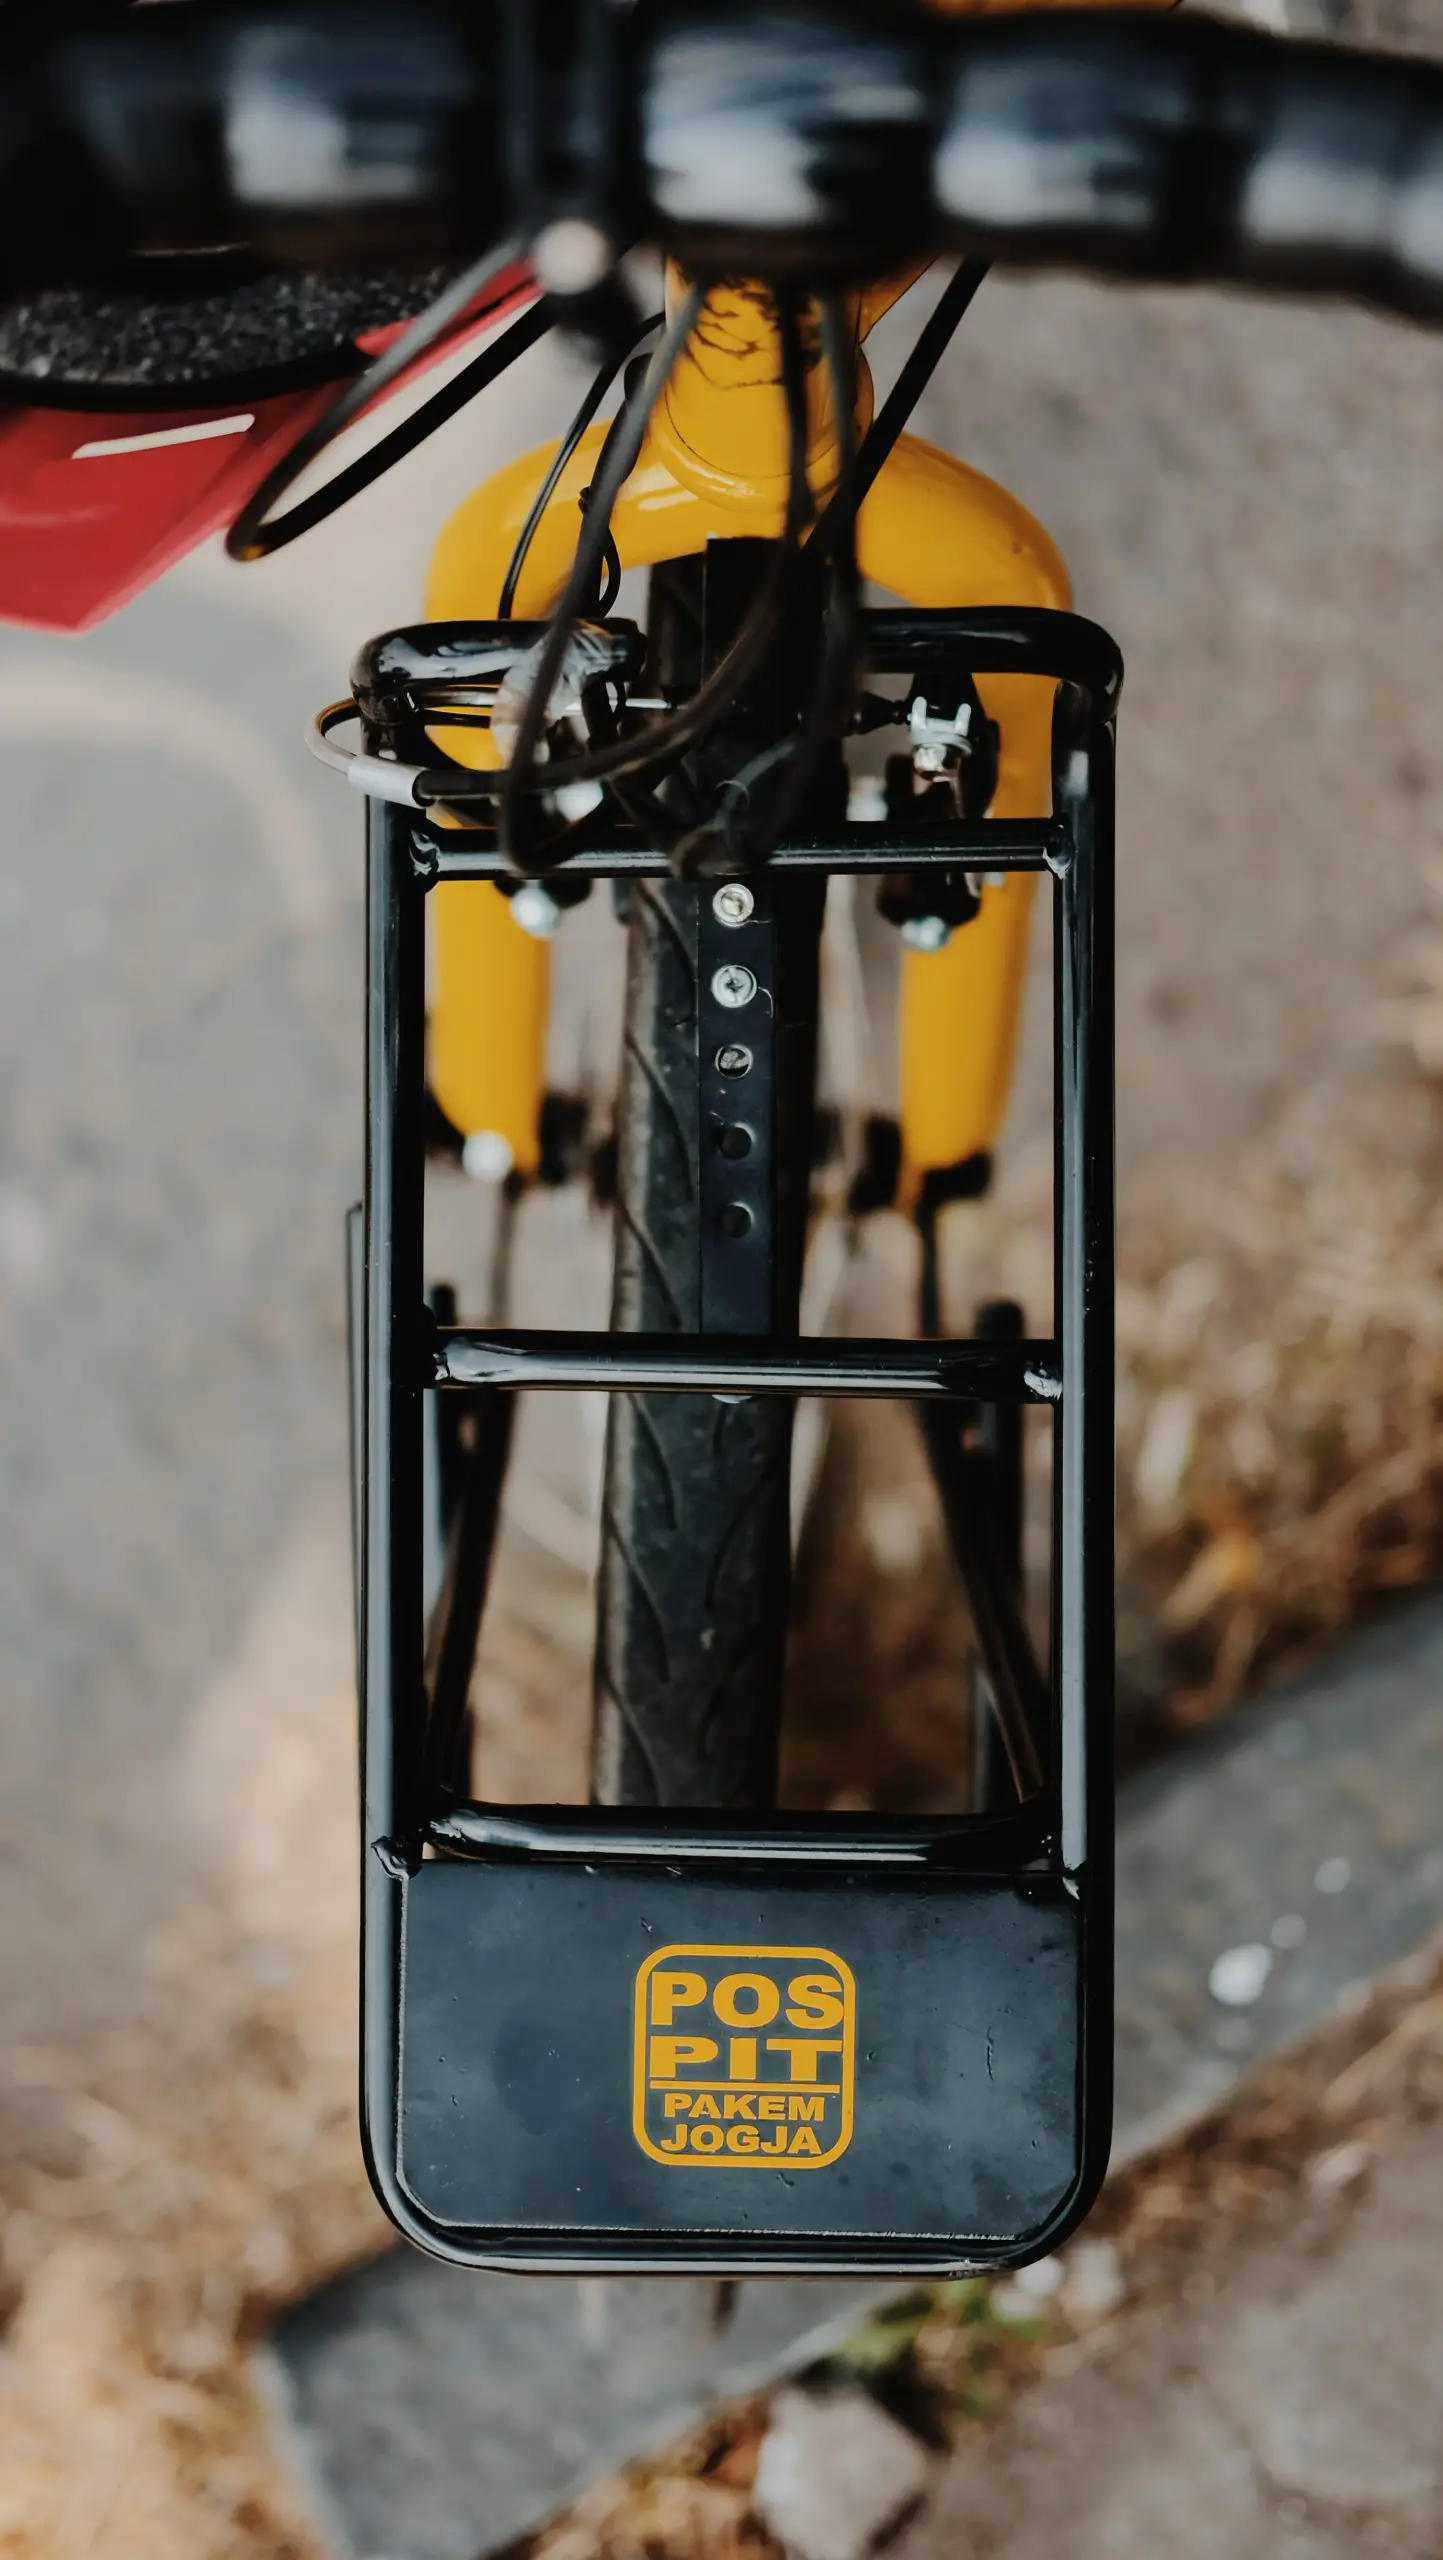
The RadMission Rear Rack is a bike accessory designed to provide riders with a convenient way to carry gear and cargo on their RadMission bike. This rear rack is made from high-quality materials. It offers a weight capacity of up to 20 kg, allowing riders to easily attach pannier bags, baskets, or other cargo to the rack with straps.
This article aims to provide a comprehensive guide on the RadMission Rear Rack, including its features and benefits, installation process, maintenance, and alternatives for RadMission bikes. By the end of this article, readers should clearly understand what the RadMission Rear Rack is, how it can enhance their biking experience, and whether it is the right choice for their needs.
Contents
Radmission rear rack

Features and Benefits of the RadMission Rear Rack :
The RadMission Rear Rack boasts several features and benefits that make it a valuable addition to any RadMission bike.:
Materials used: The RadMission Rear Rack is made from high-quality materials that ensure durability and reliability. The rack is constructed from aluminum alloy, which is lightweight yet sturdy enough to carry up to 20 kg of weight.
Carrying capacity: The rear rack’s weight capacity of up to 20 kg allows riders to carry various items, from groceries to camping gear. This weight limit is sufficient for most riders’ needs and ensures that the rack can handle significant loads without becoming unstable.
Compatibility with RadMission bikes: The RadMission Rear Rack is explicitly designed to be compatible with RadMission bikes, ensuring a perfect fit and hassle-free installation. This means that riders don’t need to worry about compatibility issues or the need for additional parts to install the rack.
Ability to accommodate pannier bags, baskets, and cargo: The rear rack’s versatile design allows riders to easily attach pannier bags, baskets, or other cargo to the rack with straps. This feature is handy for commuters or those planning to carry groceries or other items while riding.
Hardware included in the package: The RadMission Rear Rack comes with all the hardware required for installation, including mounting bolts and a brake light extension cable for mounting the integrated brake light directly to the RadMission 1.
Integration with RadMission 1’s brake light: The rear rack integrates seamlessly with the RadMission 1’s brake light, providing an additional safety feature that enhances the bike’s visibility to other road users.
Overall, the RadMission Rear Rack’s features and benefits make it a valuable addition to any RadMission bike. Its sturdy construction, versatile design, and compatibility with RadMission bikes make it an excellent choice for anyone looking to enhance their biking experience with added storage capacity and convenience.
Installation of the RadMission Rear Rack :

Installing the Radisson Rear Rack is a relatively simple process that can be completed in just a few steps. Here’s a step-by-step guide on how to install the rack:
Remove the bike’s rear wheel: To install the rear rack, you’ll need to remove the bike’s rear wheel. Use a wrench to loosen the bolts that hold the wheel in place and gently slide the wheel out of the frame.
Attach the rack to the frame: Once the wheel is removed, attach the rack to the bike’s frame using the mounting bolts provided in the package. Make sure to align the holes on the rack with the corresponding holes on the bike’s frame.
Secure the rack in place: Once the rack is attached to the frame, use the mounting bolts to secure it in place. Make sure the rack is level and snugly attached to the frame.
Reattach the rear wheel: With the rack securely attached to the frame, reattach the bike’s rear wheel by sliding it back into the frame and tightening the bolts with a wrench.
Test the installation: After installing the rack, take the bike for a test ride to ensure that the rack is securely attached and doesn’t wobble or rattle.
The tools and equipment required for installing the Radisson Rear Rack include the following:
- A wrench.
- Mounting bolts (provided in the package).
- A brake light extension cable (also provided in the package).
Need to align the rack with the frame: Make sure to align the holes on the rack with the corresponding holes on the bike’s frame before attaching the rack to the frame.
Not securing the rack tightly enough: Make sure to tighten the mounting bolts securely to ensure the rack doesn’t wobble or rattle while riding.
Forgetting to reconnect the brake light: If you’re installing the rack on a Radisson 1, make sure to connect the brake light extension cable to the integrated brake light before securing the rack in place.
By following these steps and avoiding common installation mistakes, you can easily install the Radisson Rear Rack and enjoy its added convenience and storage capacity.
Maintenance and Care for the RadMission Rear Rack :

Proper maintenance and care of your RadMission Rear Rack can help ensure its longevity and optimal performance. Here are some tips for cleaning, upkeep, and addressing common issues:
Cleaning and upkeep:
Regular cleaning: To keep the rear rack in good condition, it’s essential to clean it regularly. Use a mild soap and water to gently clean the rack, being careful not to scratch or damage it.
Lubrication: Applying a light lubricant, such as WD-40, to the mounting bolts and other moving parts can help prevent rust and ensure the rack moves smoothly.
Inspection: Periodically inspect the rack for any signs of damage, such as cracks or loose mounting bolts, and address any issues promptly.
Common issues and how to fix them:
Loose mounting bolts: If you notice that the rack is wobbling or rattling, check the mounting bolts to ensure they are tightened securely.
Rust or corrosion: If you notice any signs of rust or corrosion on the rack, clean it thoroughly and apply a rust inhibitor to prevent further damage.
Broken or damaged parts: If any rack parts are broken or damaged, contact the manufacturer to order replacement parts.
Recommended storage:
When not in use, store the rear rack in a dry, cool place to prevent rust and damage. Removing the rack from the bike is also a good idea if you will only be using it for a short period.
By following these maintenance and care tips, you can help ensure that your RadMission Rear Rack stays in good condition and provides reliable performance for years to come.
Third-Party Rear Racks and Alternatives for RadMission Bikes :

While the RadMission Rear Rack is designed explicitly for RadMission bikes, other third-party rear racks may be compatible with these bikes.:
Topeak Uni Super Tourist Fat: This rear rack is compatible with various bikes, including those with fat tires like the Radisson. It has a carrying capacity of up to 55 pounds and features a solid build with sturdy mounting points.
Ibera PakRak: The Ibera PakRak is a lightweight, adjustable rear rack that can be easily installed on most bikes, including the Radisson. It has a carrying capacity of up to 55 pounds and can be quickly removed when not needed.
Axiom Journey DLX: The Axiom Journey DLX is a durable, heavy-duty rear rack supporting up to 110 pounds. It’s compatible with many bikes, including those with disc brakes, and features adjustable mounting points for easy installation.
While these alternative rear racks may offer similar features and benefits to the RadMission Rear Rack, there are some pros and cons to consider when using third-party options.:
Pros:
Potentially lower cost than the RadMission Rear Rack
Compatibility with a broader range of bikes
More customization options for specific needs
Cons:
It may not be specifically designed for the Radisson bike, which could affect performance and compatibility.
It may not include integration with the RadMission’s brake light
Warranty and support may be limited compared to the RadMission Rear Rack
Ultimately, deciding to use a third-party rear rack or stick with the RadMission Rear Rack will depend on your individual needs and preferences. It’s essential to carefully consider each option’s features and benefits before deciding.
The RadMission Rear Rack is a versatile and durable accessory designed specifically for the RadMission bike. It’s made from high-quality materials, has a carrying capacity of up to 20kg, and can accommodate a variety of cargo options.
Proper maintenance and care of the RadMission Rear Rack are crucial to ensure its longevity and performance. This includes regular cleaning and inspection for any signs of wear or damage.
While alternative third-party rear racks are available that may be compatible with RadMission bikes, it’s essential to carefully consider the features and benefits of each option before making a decision.
The RadMission Rear Rack is a highly recommended accessory for RadMission bike owners looking to expand their carrying capacity and reduce strain on their backs while riding. Its sturdy design and integration with the RadMission bike make it a reliable and convenient addition to any rider’s setup.


